1. You will need a Facebook user account
2. Go to https://developers.facebook.com/
3. Click on ![]()
4. Register and Verify your account
5. Enter a name for your Facebook app (you may choose a name that refers to your platform, like “Apps Maker Company”). This name will be displayed to the app users when they would want to create an account in the mobile app through Facebook connect.
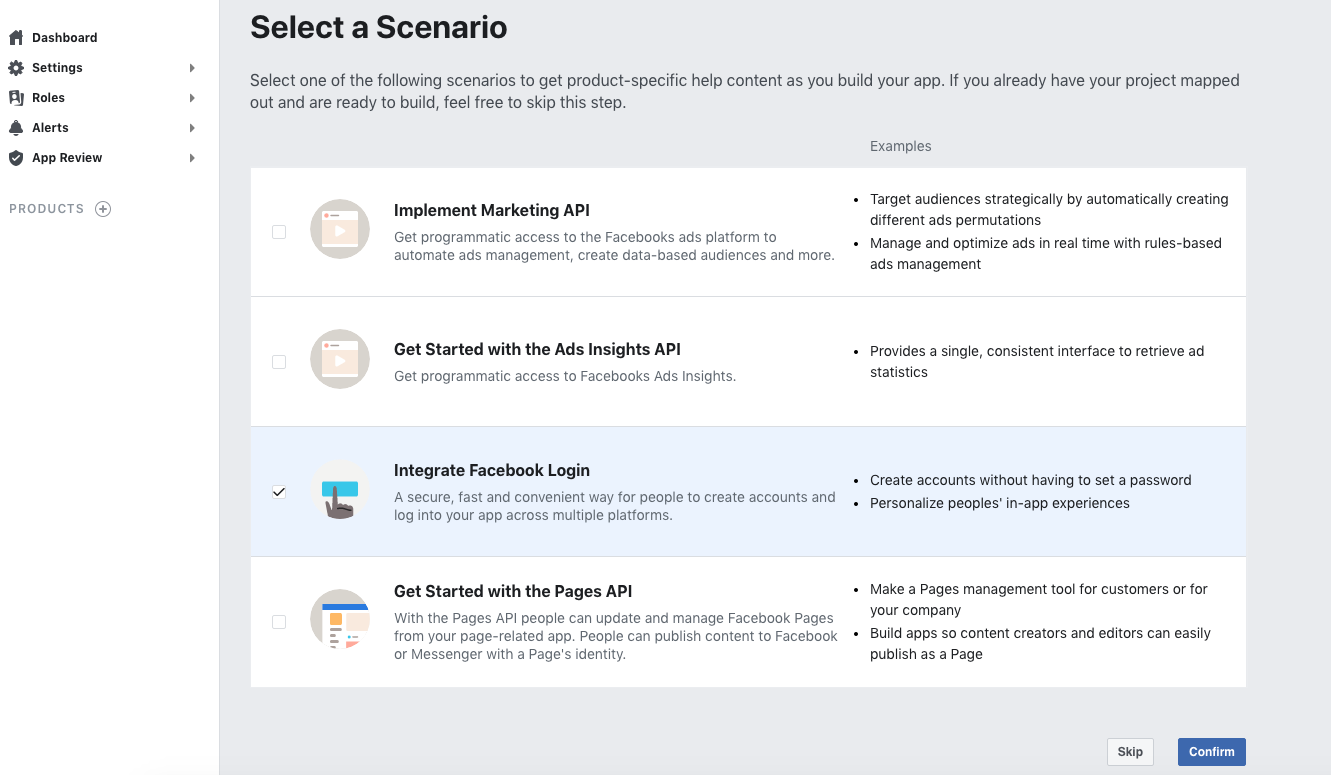
6. On the page “Select a Scenario“, select “Integrate Facebook Login“
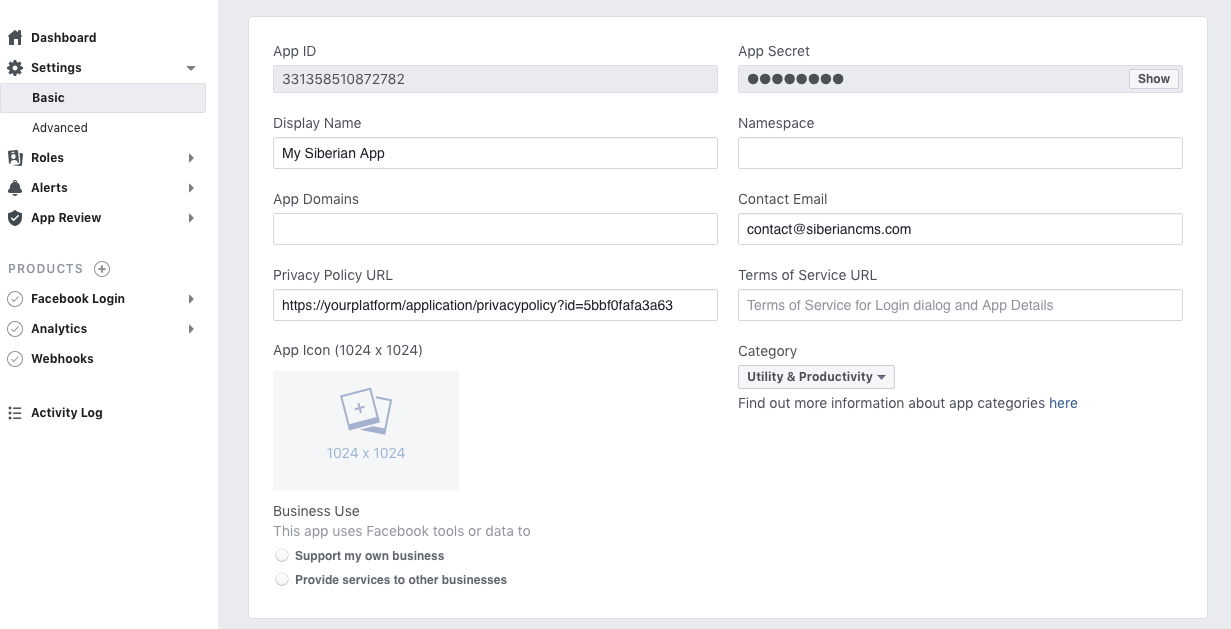
7. Go to Settings > Basic in the left menu.
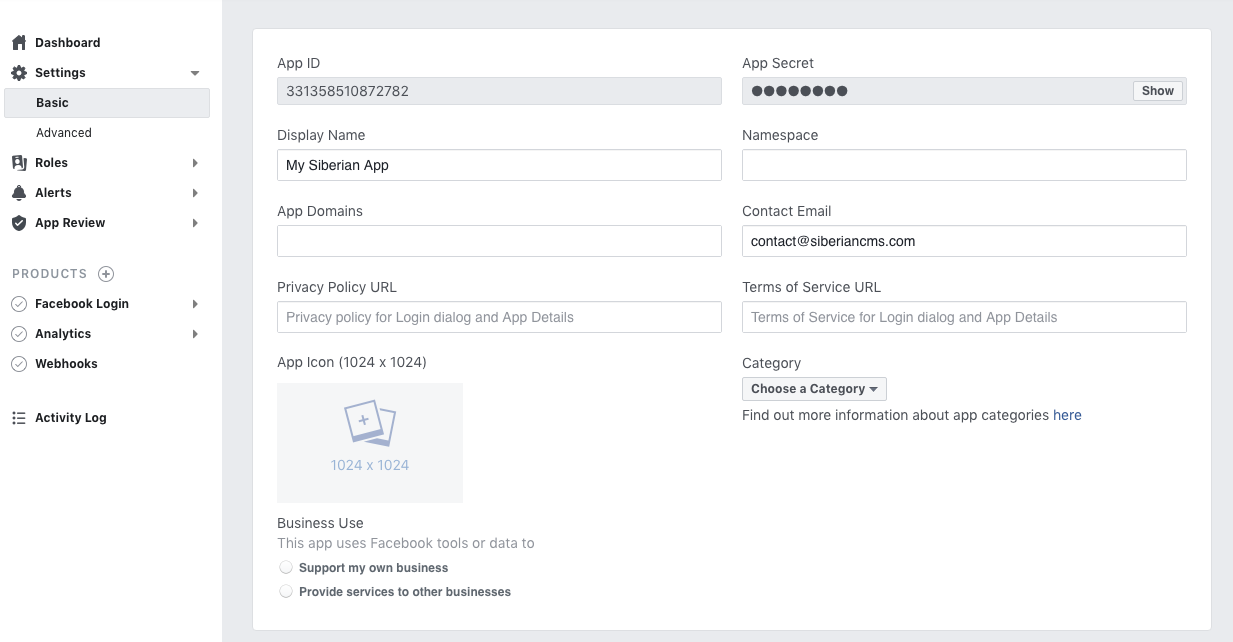
Here are the App ID and the Secret you will use in Mionic. There are two ways to use the Facebook API key in Mionic:
- In the Backoffice > Setting > APIs
This one will be used in all your Apps. The advantage is that you won’t have to create an API key per app. The disadvantage is in the case of the use of the Facebook login in the app: the users will see the name of the Facebook app that you use for your entire Mionic. So, especially for Platform Edition owners, that means the clients of your potential resellers will see the name of your Facebook page. Our advice is to choose a generic name so that you won’t be annoyed by your resellers. - In the app Editor > Settings > APIs
This one will be specific to the app. The advantage is that you can choose a name for your Facebook app that matches the name of your app, with the same icon. This way, when an app user uses the Facebook login, Facebook will display an app asking for users consent that has the same name as the app. The disadvantage is that you have to create an API key per app.
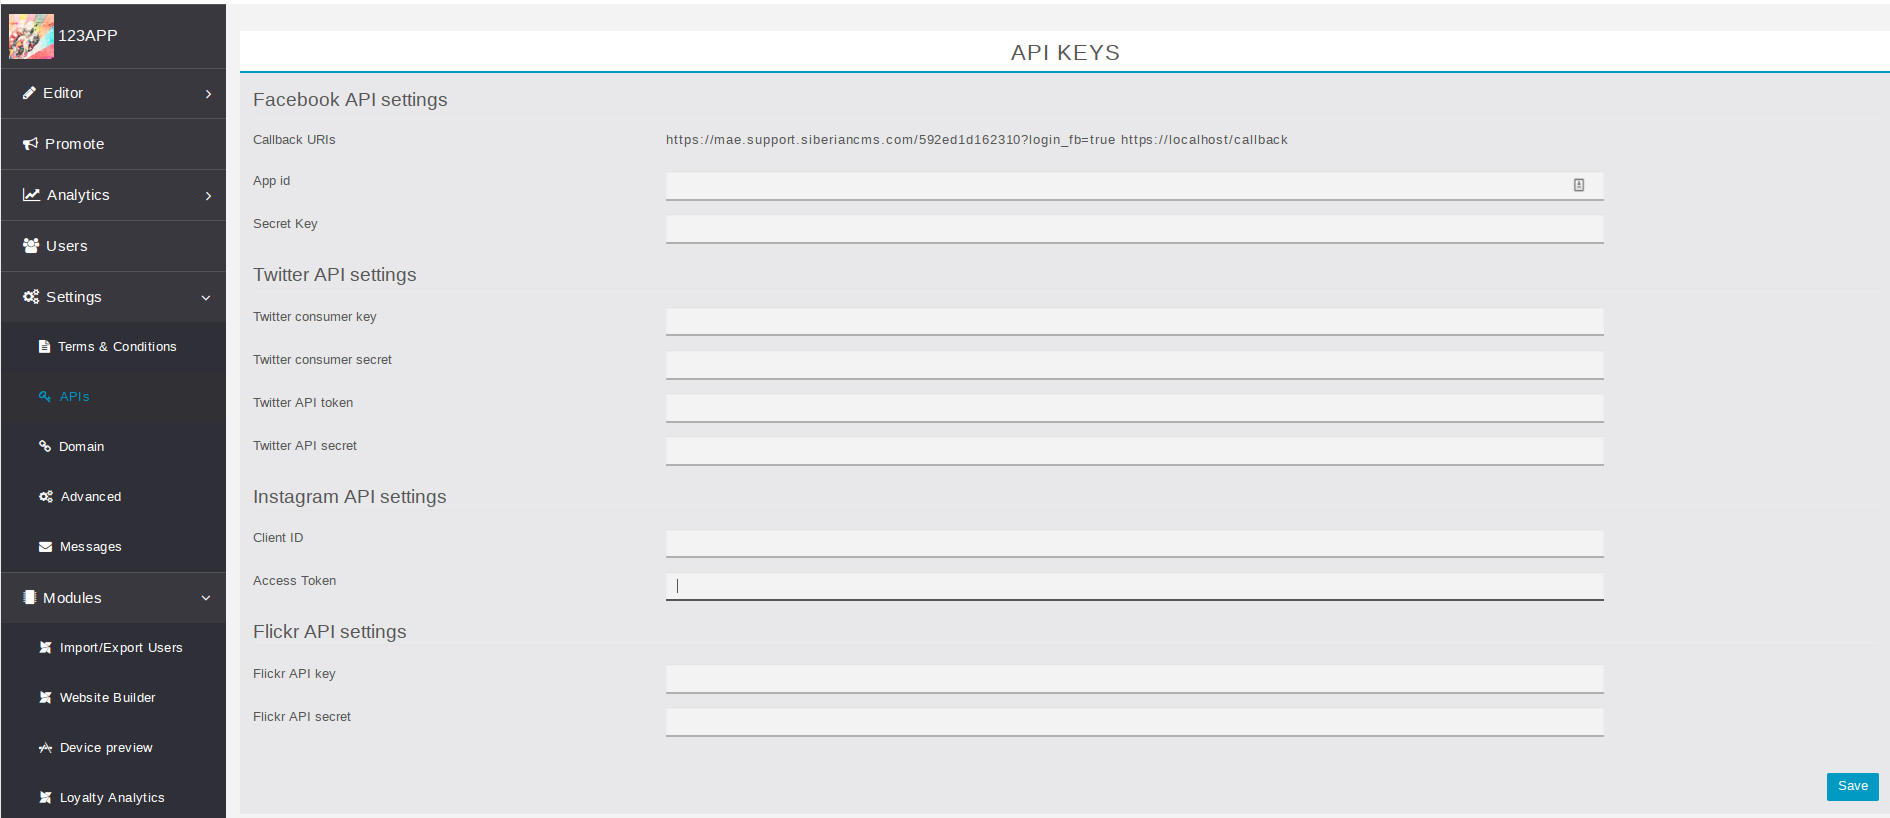
8. In the case you create a Facebook key for one app, in your Mionic Editor, go to Settings > APIs and copy the Callback URLs :
9. From the Facebook settings left menu, click on “Facebook Login” > “Settings” and paste the Urls then click on “Save changes” :
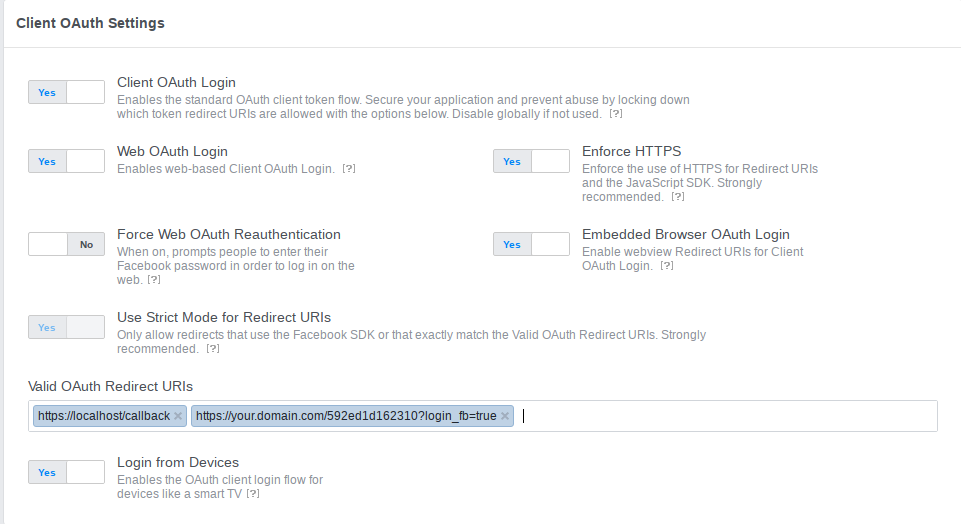
- https://localhost/callback is used on phone and tablets. So the API key from backoffice > settings > API will work for all your apps on a phone or a tablet.
- https://your.domain.com/592ed1d162310?login_fb=true is specific to the html5 website of your app.
So, if you want to have the Facebook login in your apps’ html5 website, you will have to create a new Facebook API and add it to the editor API settings.
10. Go back to Settings > Basic menu. In the App Domains field, left it blank. For Category, select “Utility & Productivity“.
11. Add a Privacy Policy URL.
12. Click on “+Add Platform” and choose “Website“:
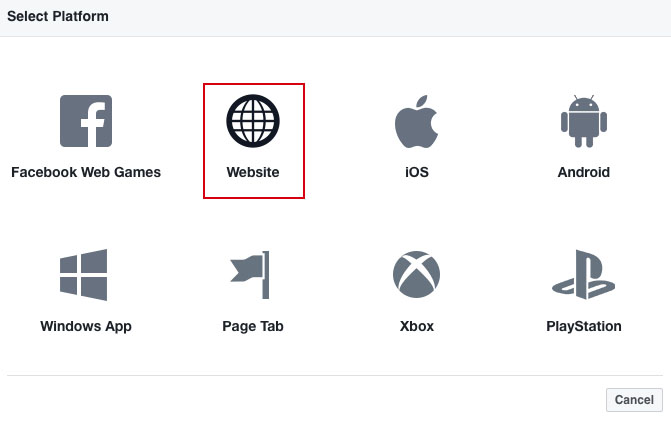
13. In the Site URL field enter the address of your platform (aka your Mionic) and this time with “http://”, and “www.” if your platform is on your main domain. If it’s on a subdomain, enter your subdomain like http://apps.mydomain.com. Enter also the URL to your domain name, and http://*.yourdomain.com (if your Mionic is at mionic.domain.com enter http://*.domain.com”. Then save.
(We recommend you to set both “http” and “https” address, and so 6 entries)

Example for http://app.mionic.app: http://app.mionic.app, http://mionic.app, http://*.mionic.app,
https://app.mionic.app, https://mionic.app, https://*.mionic.app,
14. You can also add an app icon for your app. It’s not mandatory but your Facebook app will be more professional with an icon when the user will be invited to connect with his Facebook account. Click on “Save Changes“.
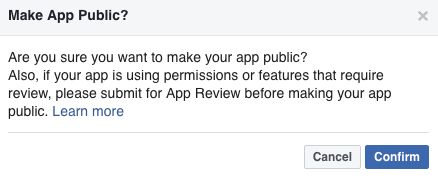
15. From the top menu, click on ![]()

16. Click on Confirm.
17. You’re done!
